Adding an R kernel to Jupyter Lab

Being bilingual has been shown to increase people’s ability to focus and concentrate, solve problems, and have better mental flexibility
It’s also important that data scientists limit themselves to relying on a single programming language for data management, visualization, modeling, and deployment.
JupyterLab is a web-based interactive development environment for data analysis, scientific computing, and predictive modeling.
Step 1 - Install Anaconda
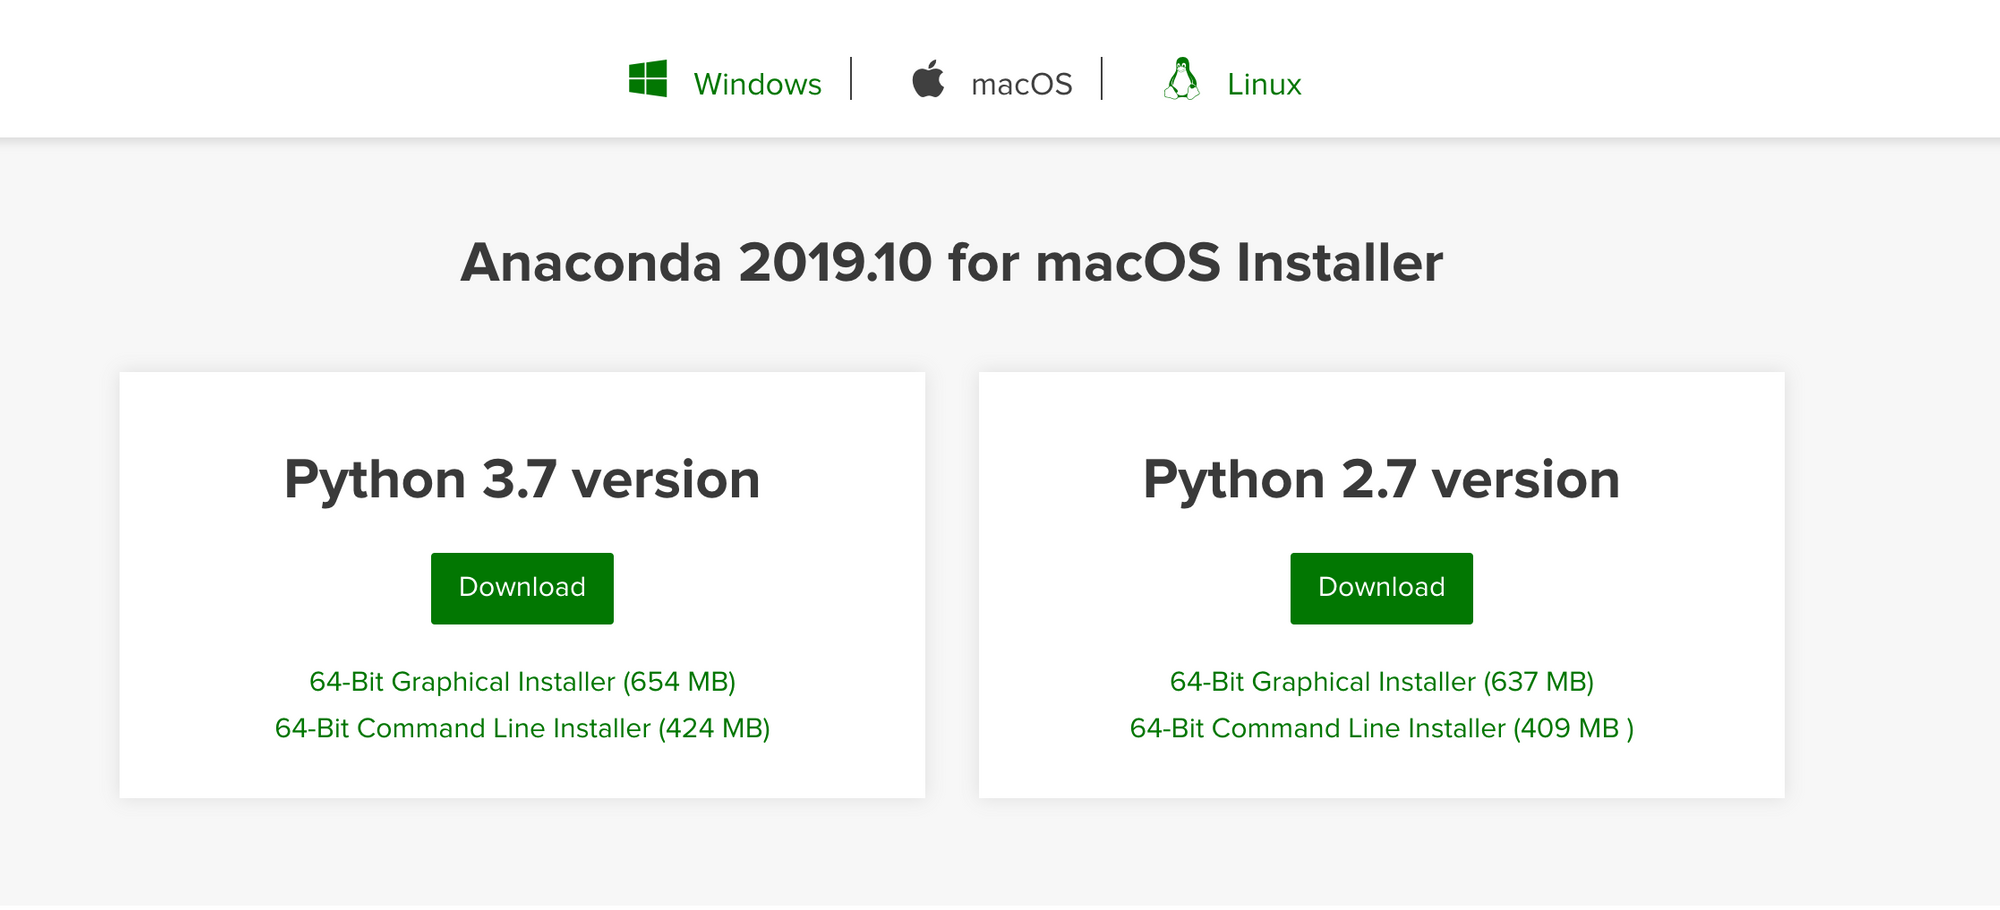
First we need to download and install the Anaconda from this website

After downloading and installing Anaconda, open a new macOS Terminal and make sure everything was installed correctly by entering the following commands:
`$ Jupyter Lab`
This should open your web browser with the following display in your browser. We are using Brave.
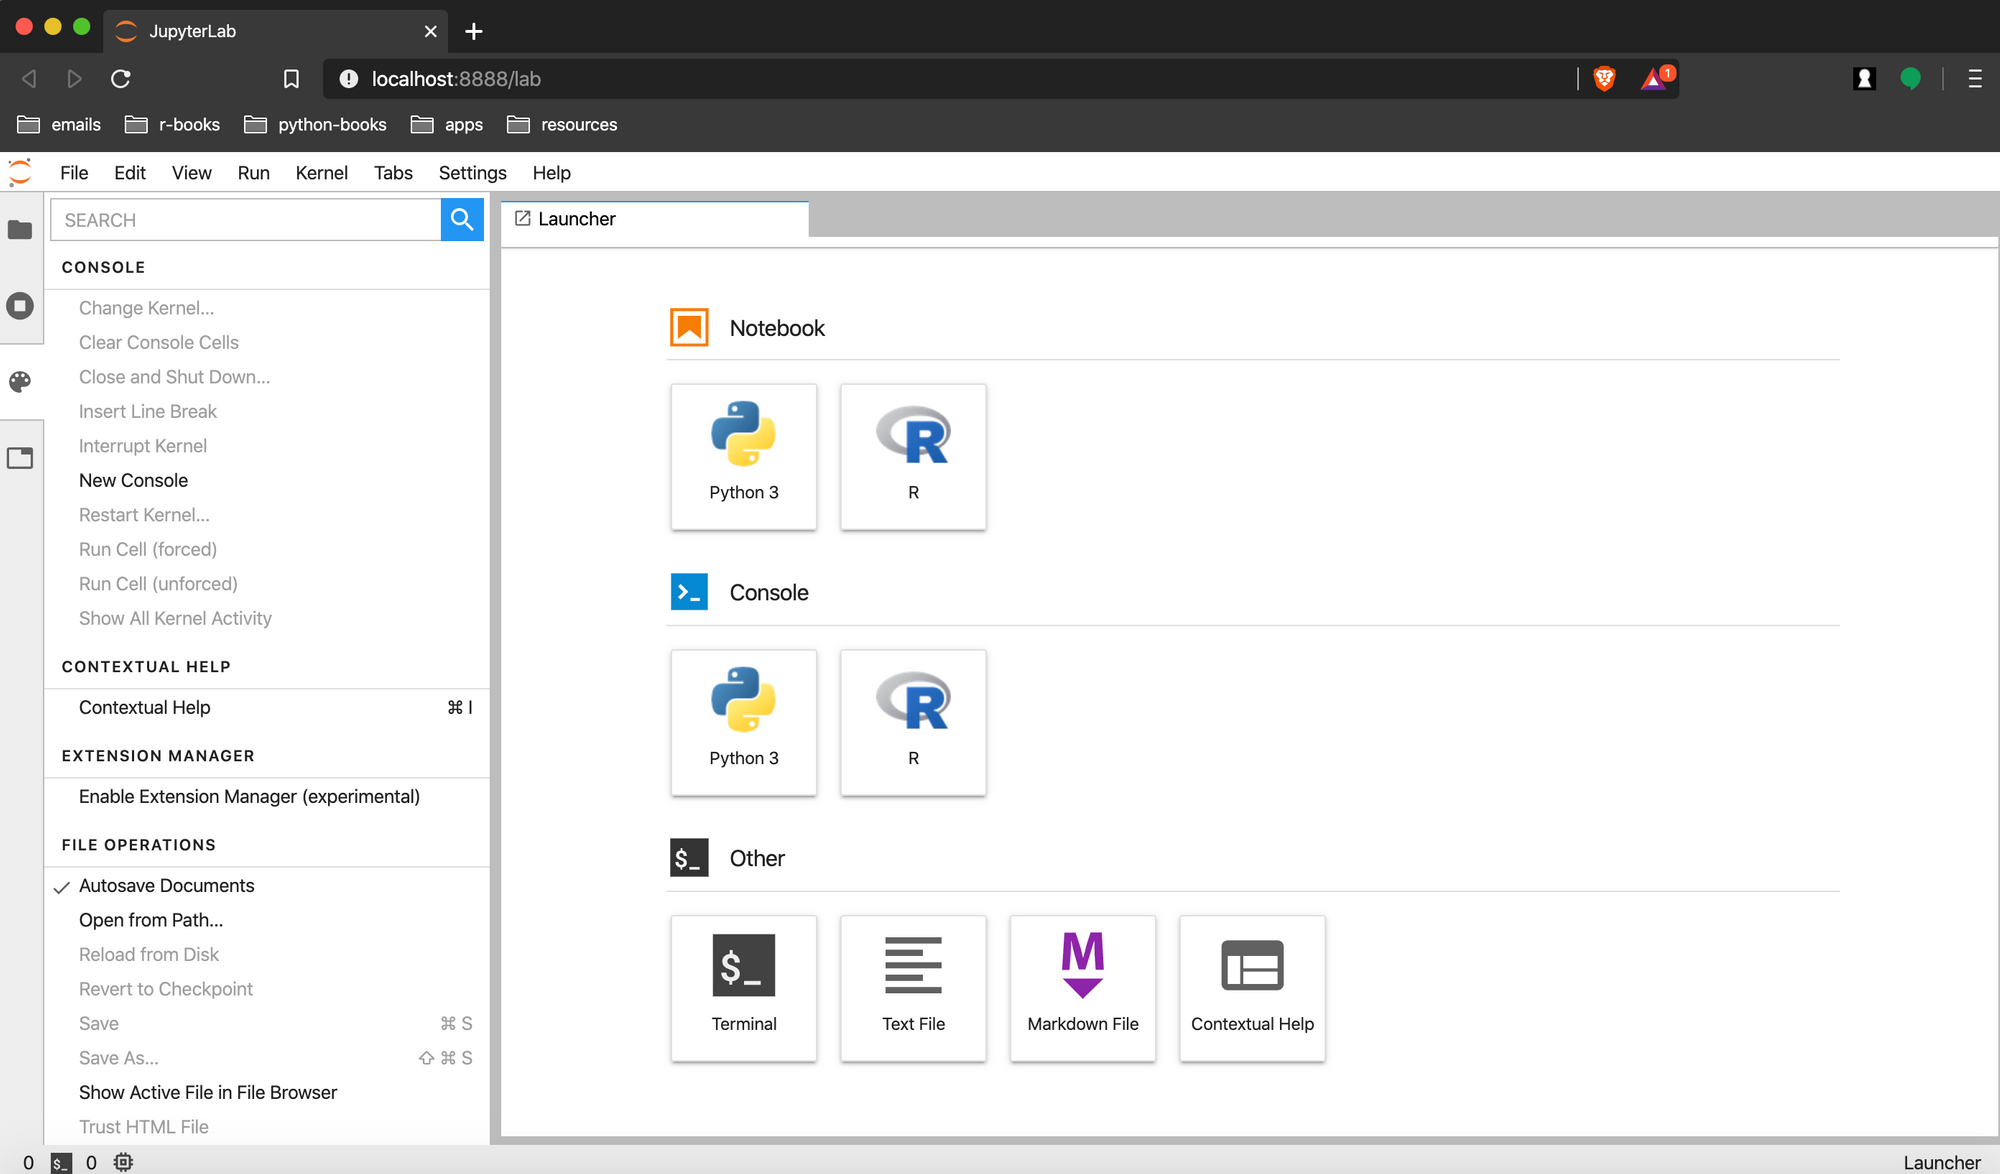
The Anaconda environment has sections for opening a Python Kernel in
- A Jupyter Notebook or
- The Console.
Python is run via Jupyter’s kernel, which you can read about here.
Under Other section, there are also options for starting a bash shell session, creating new text or markdown files, or getting contextual help.
Step 2 - Install the necessary R packages
There are seven packages we need to install to setup the R Kernel in the Jupyter Lab environment.
- repr: String and binary representations of objects for several formats mime types.
- IRdisplay: An interface to the rich display capabilities of Jupyter front-ends. Designed to be used from a running ‘IRkernel’ session https://irkernel.github.io.
- evaluate: Parsing and evaluation tools that make it easy to recreate the command line behavior of R.
- crayon: Colored terminal output on terminals that support ‘ANSI’ color and highlight codes. It also works in ‘Emacs’ ‘ESS’. ‘ANSI’ color support is automatically detected. Colors and highlighting can be combined and nested. New styles can also be created easily. This package was inspired by the ‘chalk’ ‘JavaScript’ project.
- pbdZMQ: pbdZMQ is an R package providing a simplified interface to ZeroMQ with a focus on client/server programming frameworks. Notably, pbdZMQ should allow for the use of ZeroMQ on Windows platforms.
- devtools: Collection of package development tools.
- uuid: Tools for generating and handling of UUIDs (Universally Unique Identifiers).
- digest: digest provides hash function summaries for GNU R objects.
- IRkernel: R kernel for Jupyter
These packages can be installed by running the code below in the R console.
``
# install from CRAN

install.packages(c('repr', 'IRdisplay',
                   'evaluate', 'crayon',
                   'pbdZMQ', 'devtools',
                   'uuid', 'digest'))

# from github

devtools::install_github('IRkernel/IRkernel')
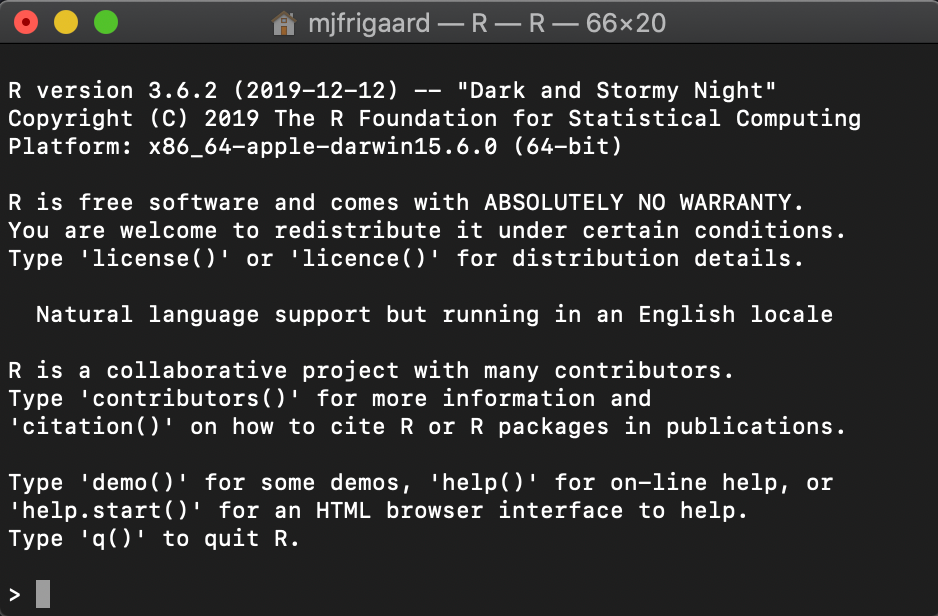
After we’ve installed these packages, we need to find our version of R on our local machine. On macOS, it is usually located in the /Library/Frameworks folder.
We use the pwd command in Terminal to show where the application is, and then use open R to launch a session of R in the Terminal.
This is the R session in the Terminal window.
``
IRkernel::installspec()
# [InstallKernelSpec] Installed kernelspec ir in /Users/mjfrigaard/Library/Jupyter/kernels/ir
IRkernel::installspec(user = FALSE)
# [InstallKernelSpec] Installed kernelspec ir in /usr/local/share/jupyter/kernels/ir
After these have been installed, we need to close the JupyterLab environment by exiting out of the browser. We will also need to close the Jupyter Kernel in the Terminal by clicking on ctrl + c and then y.
``
[I 08:22:46.480 LabApp] interrupted
Serving notebooks from local directory: /Users/path/to/project/
0 active kernels
The Jupyter Notebook is running at:
http://localhost:8888/?token=de9b3fdc50a633411e67c9596f5090e5f0d4d18bcac6c860
 or http://127.0.0.1:8888/?token=de9b3fdc50a633411e67c9596f5090e5f0d4d18bcac6c860
Shutdown this notebook server (y/[n])? y
Start another JupyterLab session and you should see the option for an R Kernel under the Notebook and Console sections.
Step 3 - Launch an R Kernel from Jupyter
Now we want to launch the R Kernel and enter some R code to make sure everything is working. We can test the R Kernel in a Notebook, because Jupyter notebooks give us the ability to insert R code, markdown, or plain text code cells.
These are similar to code chunks in Rmarkdown interrupted
Running R from Jupyter Notebook
We now have an R Kernel running in Jupyter Lab. The code below loads the popular tidyverse package from RStudio.
``
r
suppressPackageStartupMessages(library("tidyverse"))
tidyverse::tidyverse_logo()
We can write in markdown or code, just like the Python environment.
``
diamonds %>%
  ggplot2::ggplot(aes(x = carat, y = price, color = cut)) +
    ggplot2::geom_point() +
      ggplot2::geom_smooth()
#>  `geom_smooth()` using method = 'gam' and formula 'y ~ s(x, bs = "cs")'